Things on the home front have been quite emotional these past few weeks....our beloved dog of 12 years is now at peace in heaven. She gave it her best fight for the past 6 months....battling cancer, then getting degenerative myelopethy (which paralyzed her from the waist down).....then last night we made the most difficult decision and let her rest in peace. She fell asleep on my lap (just where she would have wanted to be)....and was the most peaceful I have seen her in a very long time. Animals are truly family....they help us become better people and we help them know that unconditional love they so desperately desire. My life will never be the same without her in it...but a better life I've had with having her in mine. Peace and joy to you all!
Thursday, December 15, 2011
Monday, October 31, 2011
Thursday, October 6, 2011
fabric coverings.......
I love storage bins and baskets...they just seem to contain all of my bits and baubles perfectly. I recently recovered several of these bins that once belonged in my sweet pea's room...now they have a fresh new look with a little bit of vintage fabric and some additions to each of them. These are so easy to cover and are sure to become a huge hit in your home....perfect for organizing tid bits and snacks in your pantry, toys in a child's room or nursery, containing bits and baubles in a work space or to house socks or mittens and scarves this winter.
You will need to start with a few items.....
a collapsible bin
fabric
hot glue gun
sewing machine (or you can sew by hand)
I recently found a few collapsible bins in various sizes at my local dollar shop. I rustled through my vintage fabric stash and found a few fabrics that I really liked and would sufficiently cover the bins. Now measure your bin and cut out pieces that measure properly for your 4 sides and bottom of your bin. Now cut another set (one set for the outside and one for the inside of the basket). Stitch all 4 sides to the bottom portion.....now place your bin in the fabric liner.
Your bin is starting to come together....eh? Now stitch the other 4 sides together to the other bottom portion. Once all of your fabric pieces have been stitched together you can place the inner lining inside your bin. Now heat your hot glue gun and get ready for some fun. Once your glue gun is ready you can start running a small bead of glue around the outer portion of the top of the bin...roll your fabric under just a bit and glue in place. You will continue this step all the way around the outer portion of the basket....this will give you a nice clean look all around your basket.
Now you could add a vintage brooch or clip a vintage flashcard to the outside....adding a bit of fluff. I think these would be darling as a cute container to fill with baby goodies for a baby shower. Now fill it up.....enjoy!
Wednesday, September 21, 2011
making memories.....
I have been wanting to create a memory board for my daughter for some time now....finding the right frame was the first thing on my list. Thrift stores are a perfect place to find inexpensive picture frames.
Once you find just the right frame you will need to take it apart to prepare your frame for some lively paint. I sanded the frame to prepare the frame and gave it a lovely, fresh coat of white spray paint.
You can use chicken wire or a lightweight gauge fencing wire....I used some wire that my parents had laying around the farm. Cut your wire to fit the inside groove of your frame and staple in place on the backside. Add some cute clips or clothespins....and viola'....you have an instant memory board for your office, bedroom or kitchen. I was lucky enough to find a package of vintage white plastic clothespins for a really cute look. Now it's just time to fill it up with inspiring items.
Monday, September 12, 2011
a little bit of this....a little bit of that.....
As school has resumed it seems like I have been busier than ever.....doing a bit of this....and a bit of that. My sweet pea's birthday is next week and I have been busy making some spa robes for each attending girl for my sweet pea's spa themed birthday party.
Busy making vintage fabric napkins.....
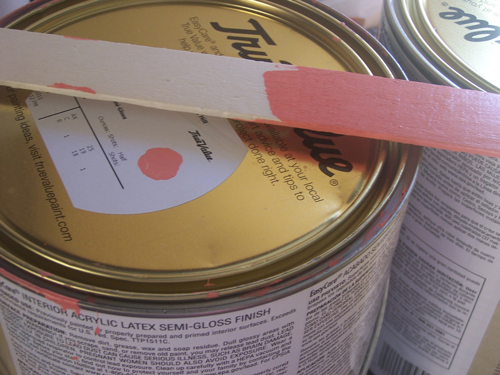
Painting the house....love our newest shade that has made it's way to our bathroom.
Found some nifty vintage decals and added them to some recycled pickle jars.
And covered some cube storage bins for some fab storage in my studio space. I am working on adding more Halloween goodies to my shop soon.....stay tuned.
Subscribe to:
Posts (Atom)
copyright one ripe peach 2009-2012